
If you’ve ever recorded audio or participated in a video conference, you know how frustrating background noise can be. It can ruin the quality of your recording or make it difficult for others to hear you clearly. Fortunately, there are several effective ways to reduce background noise on your microphone.
One simple way to reduce background noise is to speak directly into the microphone and avoid any unnecessary movement or rustling of objects. Additionally, choosing the right microphone can make a big difference in the quality of your recordings. There are several types of microphones available, and each one has its own unique strengths and weaknesses. By choosing the right microphone for your needs and using it correctly, you can minimize background noise and improve the overall quality of your recordings.
Another effective way to reduce background noise is to use noise reduction software. There are several software programs available that can help you remove unwanted background noise from your recordings. These programs work by analyzing the audio and removing any sounds that don’t match the main audio source. With the help of noise reduction software, you can significantly improve the quality of your recordings and ensure that your message is heard loud and clear.
Understanding Microphone Background Noise
Microphone background noise is a common issue that can affect the quality of your recordings or calls. It can be caused by various factors, such as electrical interference, environmental noise, or microphone sensitivity. Understanding the different types of background noise can help you identify the source of the problem and find the best solution to reduce it.
Types of Microphone Background Noise
Electrical Interference
Electrical interference is a type of background noise that is caused by the presence of electrical devices or cables near your microphone. It can manifest as a buzzing or humming sound that is often consistent in pitch and volume. Electrical interference can be caused by a variety of sources, such as power cables, lighting fixtures, or electronic devices.
Environmental Noise
Environmental noise is a type of background noise that is caused by sounds in your surroundings, such as traffic, people talking, or pets. It can be unpredictable in nature and can vary in volume and frequency. Environmental noise can be particularly challenging to reduce, especially if you are recording or speaking in a noisy environment.
Microphone Sensitivity
Microphone sensitivity is a type of background noise that is caused by the microphone picking up sounds that are not intended to be recorded or transmitted. It can be caused by various factors, such as the microphone’s proximity to the sound source, the microphone’s directionality, or the microphone’s sensitivity settings. Microphone sensitivity can be reduced by adjusting the microphone’s settings or by using a noise gate or filter.
By understanding the different types of microphone background noise, you can take the necessary steps to reduce or eliminate it from your recordings or calls. Whether it’s adjusting your microphone settings, using noise reduction software, or changing your recording environment, there are various solutions available to help you achieve clear and high-quality audio.
Choosing the Right Microphone
When it comes to reducing background noise on your microphone, choosing the right microphone is crucial. There are three main types of microphones: Dynamic, Condenser, and Shotgun. Each type has its own advantages and disadvantages, so it’s important to choose the one that best suits your needs.
Dynamic Microphones
Dynamic microphones are the most common type of microphone. They are durable and can handle high sound pressure levels, making them ideal for live performances and recording loud instruments. They are also less sensitive to background noise than condenser microphones, making them a good choice for noisy environments.
Condenser Microphones
Condenser microphones are more sensitive than dynamic microphones and can capture more detail in quieter sounds. They are often used for recording vocals and acoustic instruments. However, they are also more sensitive to background noise, so they may not be the best choice for noisy environments.
Shotgun Microphones
Shotgun microphones are highly directional and can be used to isolate sound sources. They are often used in film and television production to capture dialogue and sound effects. However, they are not as versatile as dynamic or condenser microphones and may not be the best choice for general recording purposes.
Ultimately, the type of microphone you choose will depend on your specific needs. Consider the environment in which you will be recording, the type of sound you want to capture, and your budget when making your decision. With the right microphone, you can reduce background noise and capture high-quality audio.
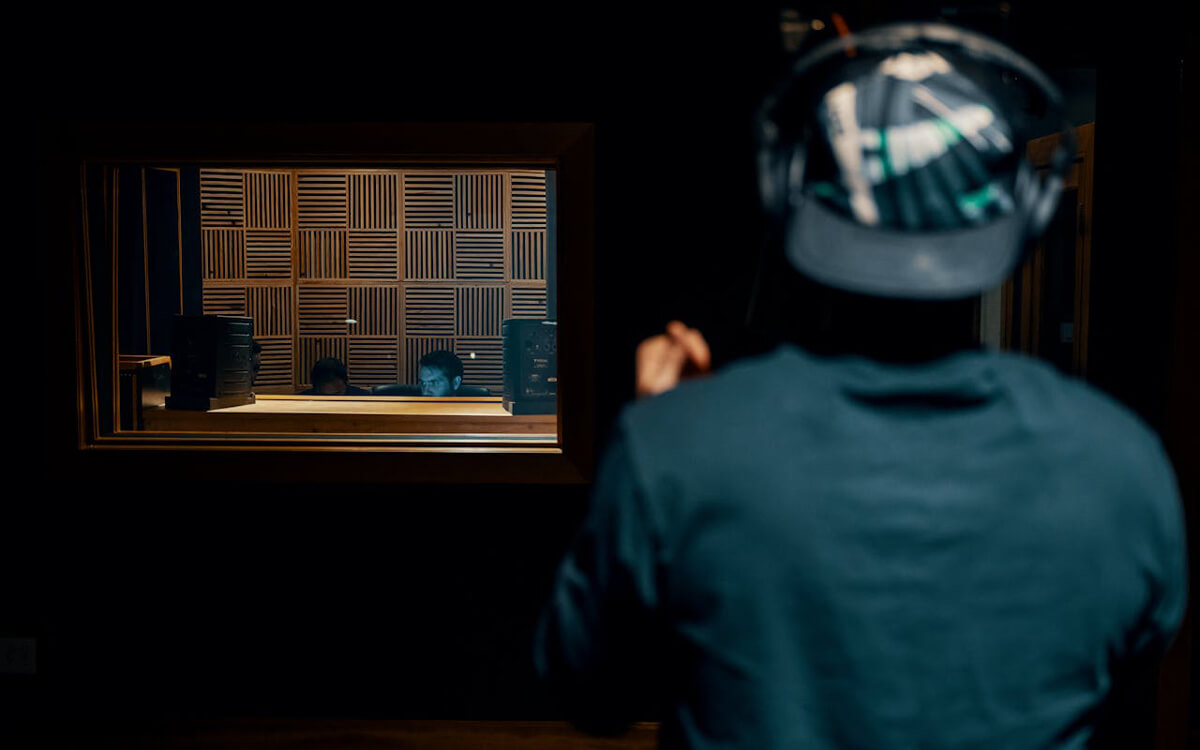
Optimizing Your Recording Environment
When it comes to reducing background noise on your mic, optimizing your recording environment is crucial. Here are some tips to help you achieve a quiet recording space.
Soundproofing Techniques
One of the most effective ways to eliminate background noise is to soundproof your recording space. Here are some soundproofing techniques to consider:
- Acoustic panels: These panels can be placed on walls, ceilings, and floors to absorb sound waves and reduce echo.
- Sound blankets: These blankets can be draped over windows, doors, and walls to block out external noise.
- Weatherstripping: This can be used to seal gaps around doors and windows to prevent noise from entering the room.
- Carpeting: Adding carpet or rugs to the floor can help absorb sound and reduce echo.
Choosing a Quiet Location
If you don’t have the resources to soundproof your recording space, choosing a quiet location is the next best thing. Here are some tips for selecting a quiet location:
- Avoid high-traffic areas: Choose a location away from busy roads, foot traffic, and other sources of noise.
- Choose a room with minimal echo: Rooms with hard surfaces like tile or hardwood floors can create echo, which can be picked up by your mic.
- Use a closet or small room: Small spaces like closets can be great for recording because they are naturally soundproofed.
- Consider the time of day: Record during off-peak hours when there is less noise outside.
By optimizing your recording environment, you can significantly reduce background noise on your mic and improve the overall quality of your recordings.
Using Noise Reduction Software
If you’re dealing with persistent background noise on your microphone, noise reduction software can be a helpful tool to clean up your audio. Here are a few popular options to consider:
Audacity
Audacity is a free and open-source audio editing program that offers a noise reduction effect. Here’s how to use it:
- Open your audio file in Audacity.
- Highlight a section of the audio that contains only background noise.
- Go to “Effect” > “Noise Reduction.”
- Click “Get Noise Profile.”
- Highlight the entire audio file.
- Go back to “Effect” > “Noise Reduction.”
- Adjust the settings as needed (try starting with the default settings).
- Click “OK” to apply the effect.
Adobe Audition
Adobe Audition is a professional audio editing program that offers several tools for noise reduction. Here’s how to use the Noise Reduction effect:
- Open your audio file in Audition.
- Highlight a section of the audio that contains only background noise.
- Go to “Effects” > “Noise Reduction/Restoration” > “Noise Reduction (process).”
- Click “Capture Noise Print.”
- Highlight the entire audio file.
- Go back to “Effects” > “Noise Reduction/Restoration” > “Noise Reduction (process).”
- Adjust the settings as needed (try starting with the default settings).
- Click “Apply” to apply the effect.
Izotope RX
Izotope RX is a powerful audio restoration software that offers several tools for noise reduction. Here’s how to use the Denoise module:
- Open your audio file in RX.
- Highlight a section of the audio that contains only background noise.
- Go to “Denoise” in the toolbar.
- Click “Learn” to capture a noise profile.
- Highlight the entire audio file.
- Adjust the settings as needed (try starting with the default settings).
- Click “Process” to apply the effect.
Keep in mind that noise reduction software isn’t a perfect solution and may not completely eliminate all background noise. It’s also important to use noise reduction sparingly, as it can sometimes introduce artifacts or affect the overall quality of your audio.
Adjusting Microphone Settings
When it comes to reducing background noise on your microphone, adjusting your microphone settings is a crucial step. Here are two sub-sections that will help you adjust your microphone settings to reduce background noise.
Gain Control
Gain control is the first setting you should adjust to reduce background noise. Gain is the amount of amplification applied to the microphone’s signal. A high gain setting will amplify the background noise as well as your voice, making it harder to reduce background noise. A low gain setting will reduce the background noise but may also reduce the volume of your voice.
To adjust the gain, follow these steps:
- Go to the sound settings on your computer.
- Select your microphone device and click on “Properties.”
- Click on the “Levels” tab.
- Adjust the microphone’s gain by moving the slider up or down until you find the right balance between your voice and the background noise.
Directionality Settings
Directionality settings control the direction in which your microphone picks up sound. There are three main directionality settings: omnidirectional, bidirectional, and unidirectional.
- Omnidirectional microphones pick up sound from all directions, making them less effective at reducing background noise.
- Bidirectional microphones pick up sound from the front and back, making them useful for recording interviews or podcasts with two people.
- Unidirectional microphones pick up sound from one direction, making them the most effective at reducing background noise.
To adjust the directionality settings, follow these steps:
- Go to the sound settings on your computer.
- Select your microphone device and click on “Properties.”
- Click on the “Advanced” tab.
- Choose the directionality setting that best suits your needs.
Adjusting your microphone settings is an essential step in reducing background noise. By adjusting the gain control and directionality settings, you can significantly reduce unwanted background noise and improve the quality of your recordings.
Maintaining Your Microphone
Maintaining your microphone is essential to ensure that it continues to function correctly and produce high-quality sound. Here are a few tips to help you keep your microphone in good condition:
- Keep it clean: Use a soft, dry cloth to wipe down your microphone regularly. Avoid using any harsh chemicals or liquids, as they can damage the microphone’s components.
- Store it properly: When you’re not using your microphone, store it in a safe place where it won’t get knocked around or damaged. Consider investing in a protective case or bag to keep it safe.
- Check the cables: Make sure that the cables connecting your microphone to your computer or other devices are in good condition and not frayed or damaged. If you notice any issues, replace the cables as soon as possible.
- Avoid moisture: Keep your microphone away from moisture, as it can damage the internal components. If you need to use your microphone in a humid environment, consider using a protective cover or shield.
- Use a pop filter: A pop filter can help prevent popping sounds when you’re recording vocals. It also helps to protect the microphone from saliva and other debris that can damage the internal components.
By following these simple tips, you can help ensure that your microphone continues to function properly and produce high-quality sound.
Conclusion
Reducing background noise on a mic can greatly improve the quality of your recordings, whether you’re a podcaster, musician, or video creator. By following the tips and tricks outlined in this article, you can minimize unwanted sounds and create a more professional-sounding product.
First and foremost, it’s important to choose the right microphone for your needs. A high-quality mic with noise-cancelling features can make a significant difference in reducing background noise. Additionally, positioning your microphone correctly and speaking directly into it can help to eliminate unwanted sounds.
Adjusting the levels on your microphone and using ambient noise reduction software can also be effective in reducing background noise. It’s important to experiment with different settings to find what works best for your specific situation.
Finally, don’t forget the importance of post-production editing. Using tools like noise reduction plugins and EQ can help to further eliminate unwanted sounds and enhance the overall quality of your recordings.
By implementing these strategies, you can significantly reduce background noise on your mic and create high-quality recordings that will impress your audience.


